Table of Contents
How to create PDFs with the Preview tool on Mac
One the simplest ways to generate PDF files consisting of multiple pages on the Mac is to use the print option inside the Preview tool. We will in the following steps explain how this is done.
Finder
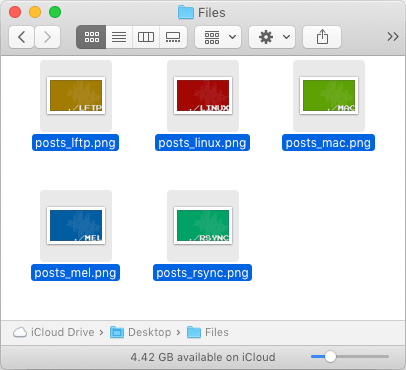
Open a new Finder window and browse to the folder containing the files that you want to convert to PDF.
Select the files and either double click or hold down the Command + Arrow Down keys to open them in Preview.
Preview
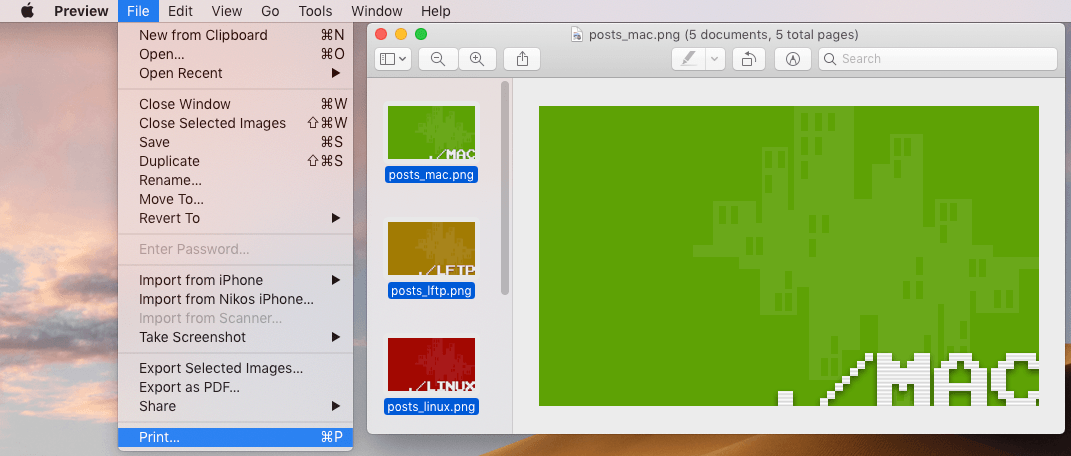
We are now inside Preview. From the top menu bar, select File > Print… or simply press Command + P to
launch the print settings window.
Print Settings
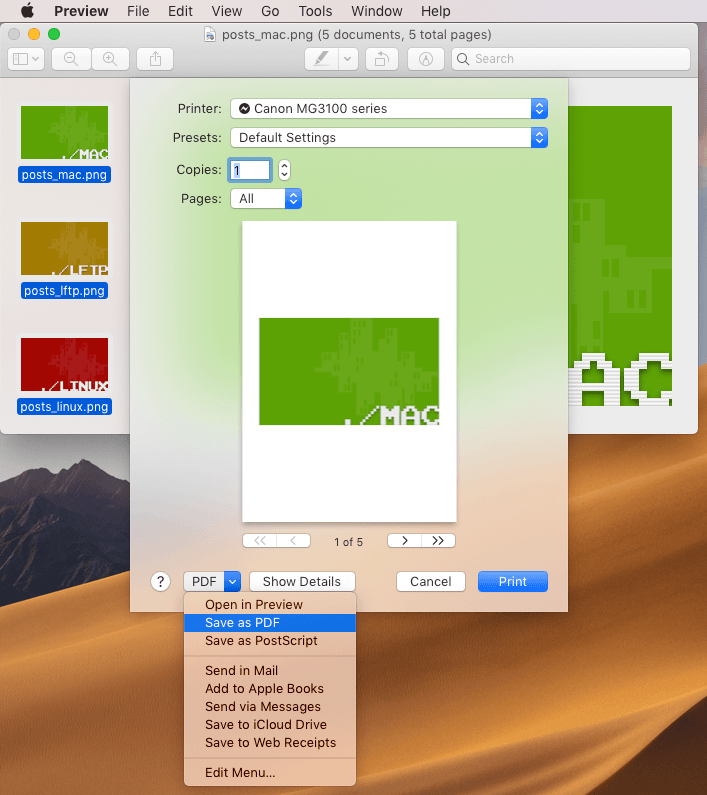
We are now in the print settings window. Instead of sending our pages to the printer, as we would normally do, we will select the PDF > Save as PDF option from the menu button located in the lower left corner of the window.
Saving the Document
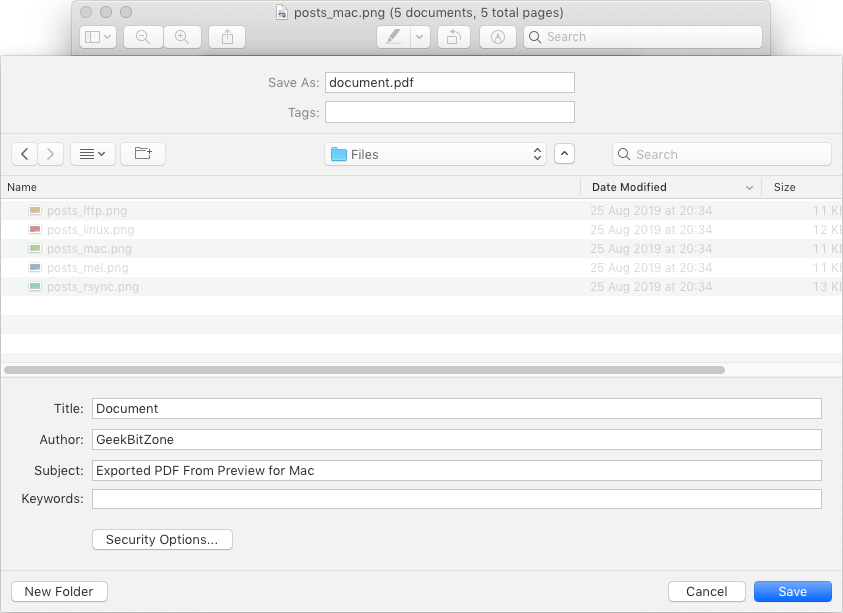
A save window appears. Type in a name of the file that you are about to export and then press the Save button.
Conclusion
That is all there is to it. Your PDF has been exported and you can now view it any other software that supports PDF files.
See Also

How to install Homebrew for Mac
How to find out which shell I am running?

How to sync files with lftp

How to mirror drives with rsync

How to install a Samsung ML-191x 252x Series printer with AirPrint support on a Raspberry Pi

Querying the Illuminates by Default attribute in Maya

Remove nodes from a set in Maya
comments powered by Disqus
See also
- How to install Homebrew for Mac
- How to find out which shell I am running?
- How to sync files with lftp
- How to mirror drives with rsync
- How to install a Samsung ML-191x 252x Series printer with AirPrint support on a Raspberry Pi
- Querying the Illuminates by Default attribute in Maya
- Remove nodes from a set in Maya