Table of Contents
How to install and configure Syncthing on the Mac
Syncthing is a continuous file synchronization program. It synchronizes files between two or more computers in real time and is completely free and open source. We love Syncthing here at GeekBitZone and will in this introductory guide show how you can install and configure Syncthing for macOS.
Disk image installation (recommended)
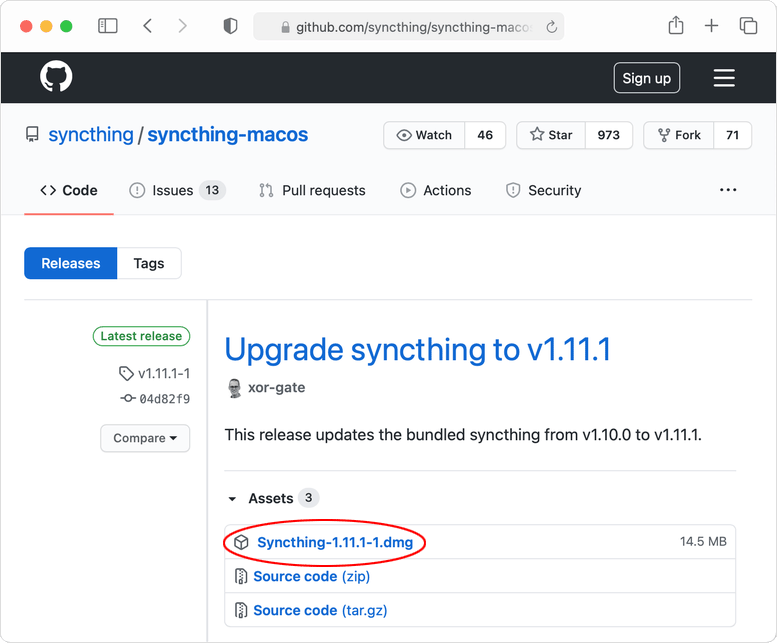
Head over to syncthing-macos’s GitHub page to download the latest release for macOS:
At the time of writing the release version is v1.11.1.
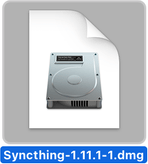
Once downloaded, double click on the disk image file.
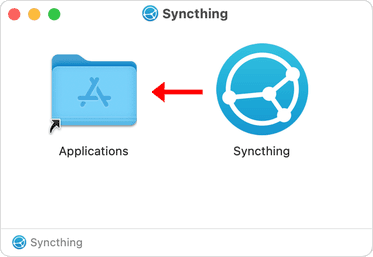
Drag and drop the Syncthing icon into your Applications folder.
Locate and launch Syncthing via the Launchpad or Spotlight search.

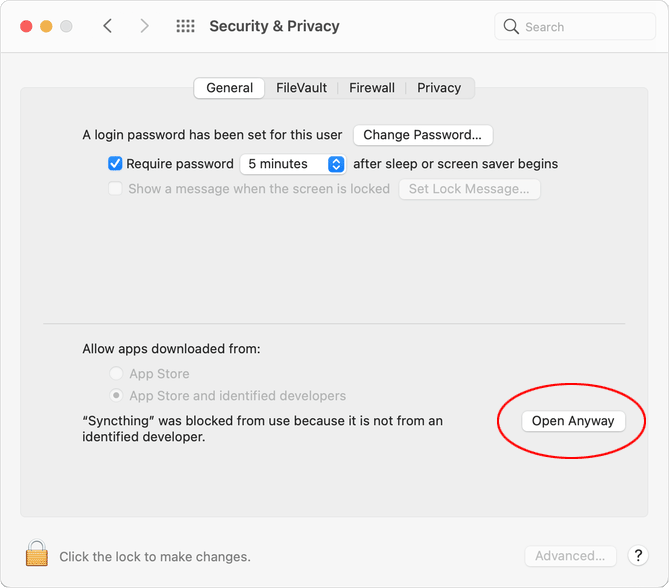
Depending on your security preferences you might see the following warning when you launch Syncthing for the first time…

… or even this message.
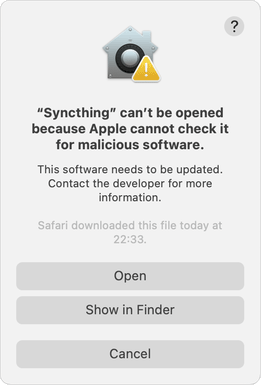
Don’t worry, just go to System Preferences > Security & Privacy to allow Syncthing to be opened anyway.
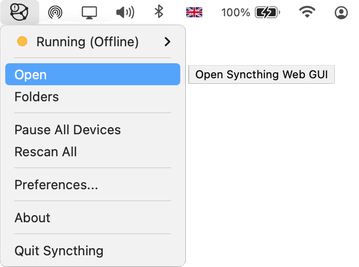
If you now look at your top application menu bar you can see that a new Syncthing icon has appeared. Click on this icon and choose Open from the menu.
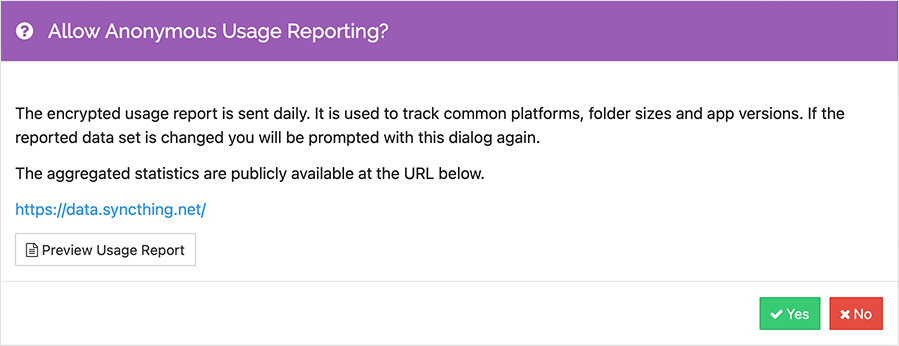
This will open a new web browser which will take you to the Syncthing Web GUI. When you access the page for the first time you will be given the option to allow or disallow anonymous usage reporting. Make your choice.
You have successfully completed the installation of Syncthing and are now ready to set up your computer for file sharing.
Command-line installation
For you geeks out there who prefer to install software via the command-line, it is possible to do so with the Homebrew package manager. Read the following installation guide if you have not yet installed Homebrew on your system.
Let us get started. Open a new Terminal and type following command:
brew install syncthingThe Syncthing package will be downloaded and installed within a minute.
Note: If you are using macOS Big Sur, you will see a warning that Homebrew is not yet supported for this version. This is a known issue, but rest assured, their volunteers are working to sort out all compatibility issues in a future release. As far as Syncthing is concerned, we can confirm that the software works perfectly fine on Intel-based computers.
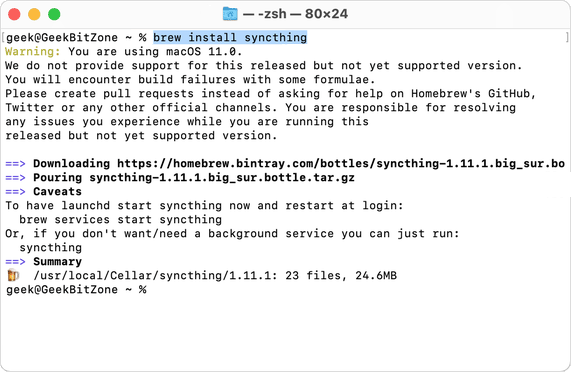
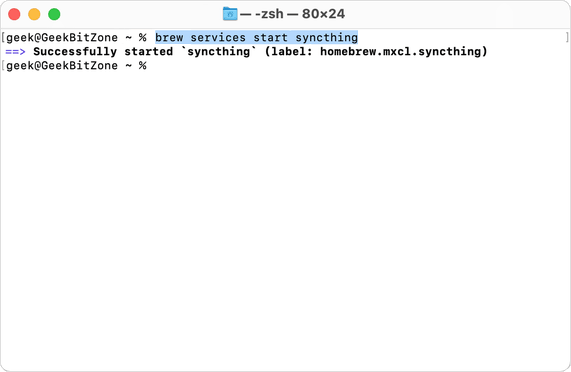
Once Syncthing has been installed, run the following command to install it as a service:
brew services start syncthingInstalling it as a service is essential if you do not want to manually open Syncthing each time you restart your computer.
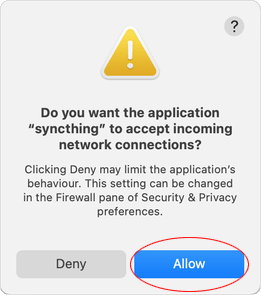
Allow Syncthing to accept incoming network connections.
Decide whether to allow Syncthing to collect anonymous usage reporting.
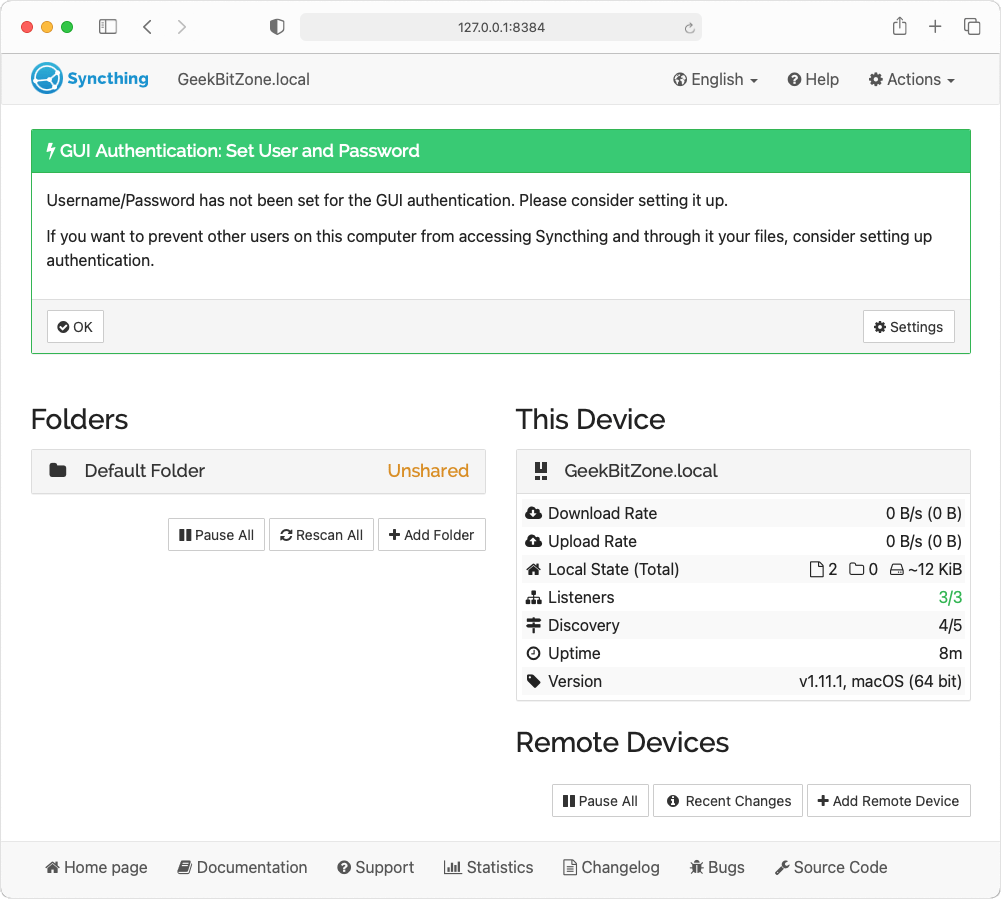
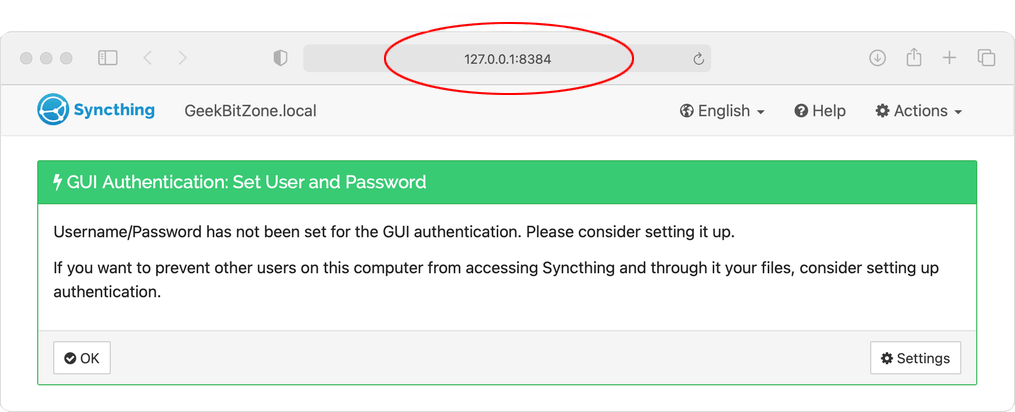
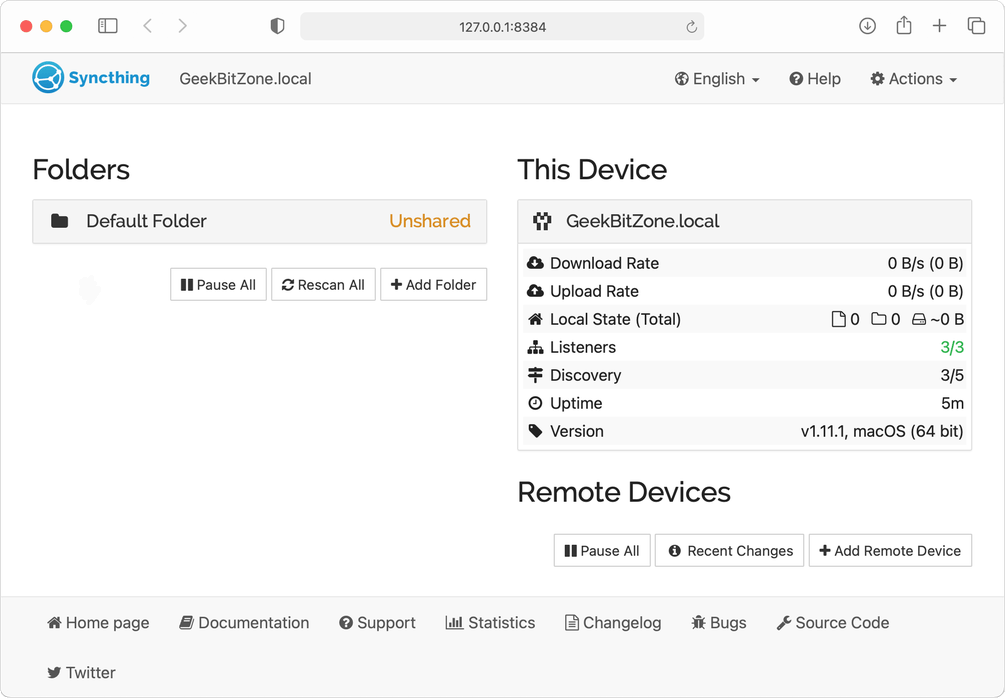
In a web browser, type the following address to access the Syncthing Web GUI:
127.0.0.1:8384Click OK to dismiss the GUI Authentication warning as this can be configured later on the Settings page.
You have successfully completed the command-line based installation of Syncthing and are now ready to set up your computer for file sharing.
Configuration
With the installation out of the way, let us show how you can set up file sharing between two or more computers. Make sure that Syncthing is already running on at least two different machines on the same network before continuing to the next step.
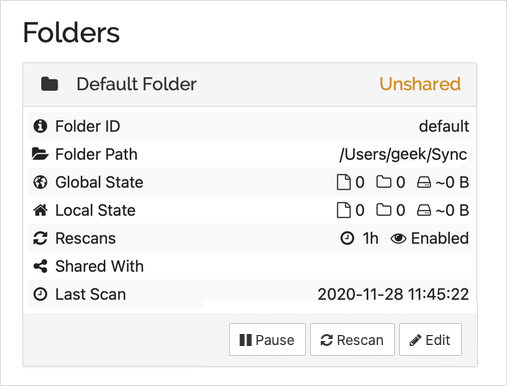
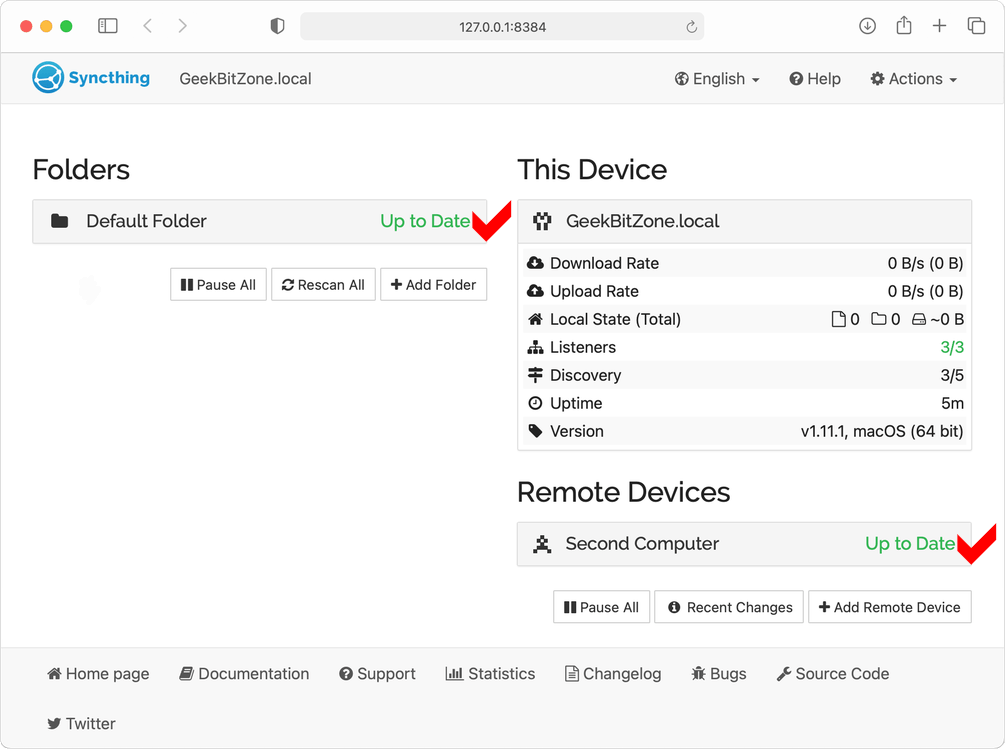
The first thing that we need to do is decide which folder(s) we want to share. As you can see Syncthing has already set
up a Default Folder for file sharing, located under /Users/username/Sync. We will go ahead and use this folder
for the sake of simplicity.
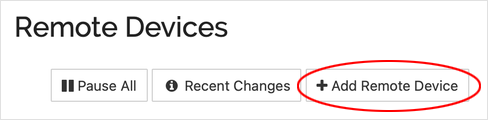
We now know which folder we want to share but have not yet told Syncthing which computer we want to send the files to. If we shift our focus to the lower right corner of the Web GUI we can see an Add Remote Device button. Go ahead and click it.
The Add Device > General page will pop up. Syncthing will here automatically detect other computers on the same network by presenting their Device ID in a selectable list. Go ahead and select the Device ID that you want to use and, optionally, give the remote computer a Device Name for ease of identification.
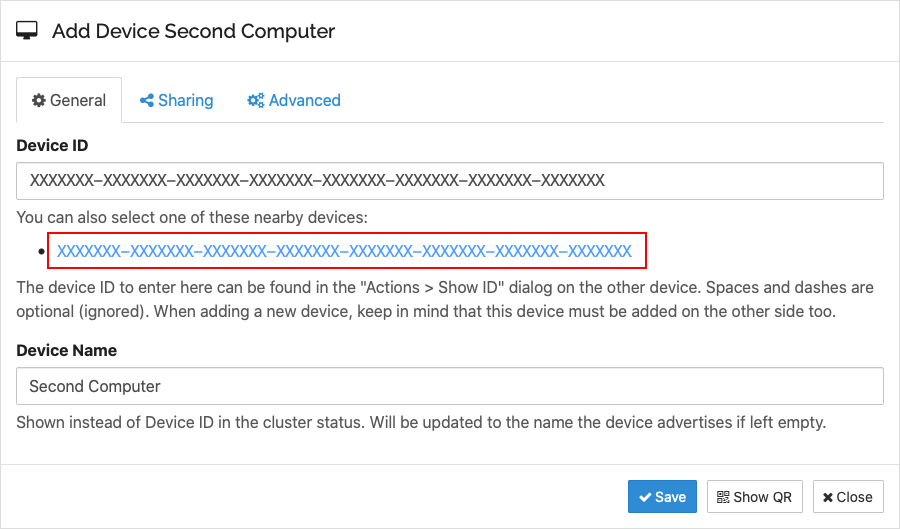
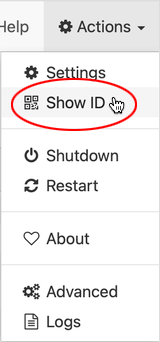
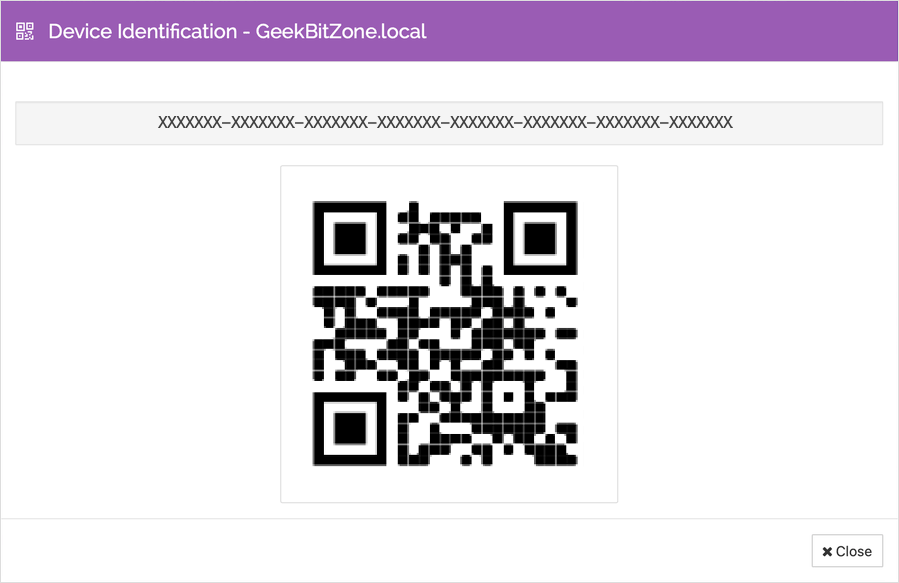
If you cannot see your Device ID in the list, open up the Syncthing Web GUI on your second computer and choose Actions > Show ID:
Take a note of the 56 letter code and enter it under the Device ID field on your first computer.
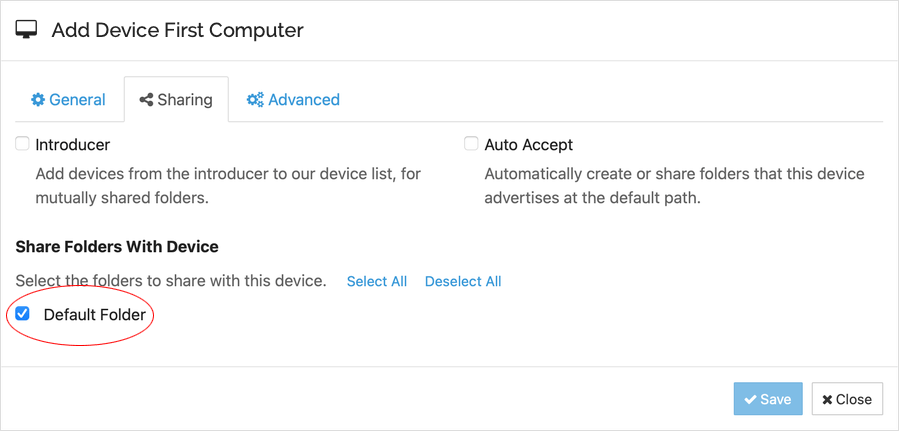
Returning our eyes to the Add Device page on our first computer, open the Sharing tab instead and select the Default Folder checkbox in the lower left corner. Press Save to close the window.
You will shortly receive a message on your second computer which says that a new device on your local network wants to connect. Press Add Device to confirm.

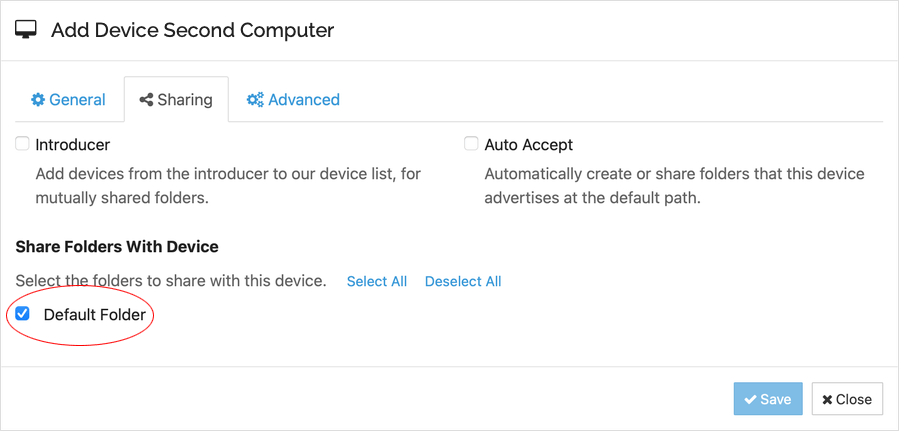
A very familiar Add Device page will pop up where you will be asked to add your first computer to the list of devices. Press Save to add the device.

You will shortly receive another message where you will be asked to add the shared Default Folder. Press the Add button.

You will then be given the option to share this folder back to the first device. Press Save to finish the setup.
Congratulations! You have successfully shared a folder between two computers with Syncthing and when you see the green Up to Date message in the Folders and Remote Devices sections you will know that the folders are completely synchronized.
Summary
This guide has shown how Syncthing, a free and open source file synchronization program can be installed and configured for macOS and used as a replacement for commercial solutions such as Dropbox and Goo
See Also

How to restart the Samba (SMB) file sharing service on macOS

How to enable case-sensitive file system support in PyCharm for macOS
How to disable Adobe Creative Cloud during startup on the Mac

How to mount external volumes in Docker

Which components can be upgraded on my Mac?
How to hide external disk drives from the desktop in macOS

How to upgrade rsync on macOS Catalina

How to change the startup programs in macOS

How to install Nextcloud on Mac with Docker

How to extend the lifespan of memory cards on the Raspberry Pi with Log2Ram
comments powered by Disqus
See also
- How to restart the Samba (SMB) file sharing service on macOS
- How to enable case-sensitive file system support in PyCharm for macOS
- How to disable Adobe Creative Cloud during startup on the Mac
- How to mount external volumes in Docker
- Which components can be upgraded on my Mac?
- How to hide external disk drives from the desktop in macOS
- How to upgrade rsync on macOS Catalina
- How to change the startup programs in macOS
- How to install Nextcloud on Mac with Docker
- How to extend the lifespan of memory cards on the Raspberry Pi with Log2Ram